Top Navigation Bar
Version 2.1 by Maham Khan on 2025/06/28 18:29
- The Top Navigation Bar provides access to essential tools and settings for efficient navigation.

Figure 2: Top Navigation Bar
.
1. Profile & Settings
Click the Profile icon (top right) to manage:
- Profile: Update name, email, or profile picture.
- Professional Info: Add degrees, specialties (e.g., trauma, addiction), and certifications.
- Treatments & Modalities: Select services like CBT or Family Therapy.
- Patient Types & Age Preferences: Specify demographics (e.g., children, adults).
- Branches: List affiliated practice locations.
- Login: Update password or enable two-factor authentication (2FA).
- Notifications
The Bell icon displays real-time alerts for:
- New referrals.
- Appointment changes.
- Unread messages.
A red badge indicates unread notifications.
-
- Settings
Access via Profile or Settings icon to configure:
- Terminology/Lexicon: Rename terms (e.g., “Patient” to “Client”).
- Locale: Set currency, time zone, and date/time formats.
- Appearance: Customize branding (admin permissions required).
- Authentication: Enable Multi-Factor Authentication (MFA).
- Features: Toggle module visibility based on role.
- Privacy Mode
Click the Eye icon to hide patient data during:
- Screen-sharing for technical support.
- Training sessions with colleagues.
Toggle off to restore visibility.
-
- Quick Calendar
The Calendar icon opens a slide-out panel to:
- Check therapist availability.
- Book sessions by selecting a date/time.
- View weekly schedules without leaving the current page.
- Creating a New Patient
To add a patient:
- Click the Person icon on the Top Navigation Bar.
- Select Create Patient.
- Enter:
- Full Name: Legal first and last name.
- Date of Birth: For age verification.
- Gender: Select or specify.
- Contact Information: Phone and email.
- Address: For billing/emergency purposes.
- Complete mandatory fields (marked with an asterisk).
- Click Save or Submit
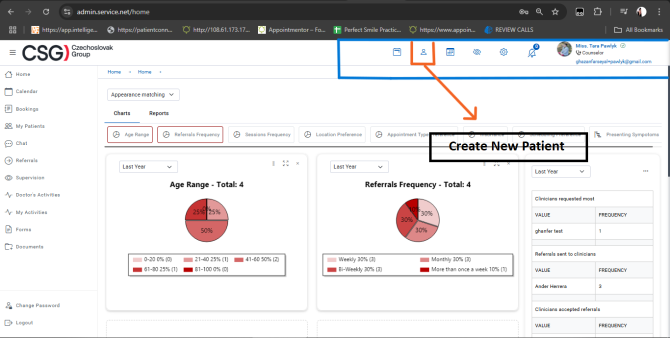
Figure 3: Creating a New Patient
Best Practices:
- Verify contact details for accuracy.
- Use Notes to record initial observations or referral sources.
- Booking an Appointment
To schedule a session:
- Click the Booking icon (notepad) on the Top Navigation Bar.
- On the Appointment Booking Page, specify:
- Patient: Select from the list.
- Date and Time: Choose an available slot.
- Therapist or Clinician: Assign the provider.
- Appointment Type: E.g., Initial Consultation, Therapy Session.
- Notes: Add patient-specific details (e.g., “Prefers virtual session”).
- Review details.
- Click Book Appointment.
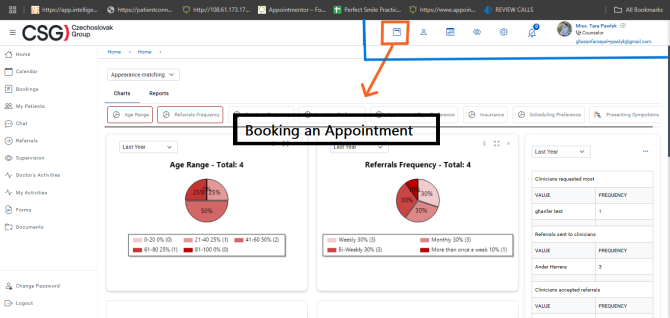
Figure 4: Booking an Appointment